Like Facebook, Google+ is a great platform for sharing and viewing photographs. Many talented photographers have already uploaded their portfolios, and in addition to easy album sharing, Google+ offers something Facebook does not—simple editing features for enhancing your photos upon uploading. Below, how to instantly upload via smartphone, plus a quick run through of the basic editing tools available.
Enable Instant Upload on Your Smartphone
If you have a smartphone with a decent camera, I recommend enabling "Instant Upload". Once you do so, the pictures you take with your camera will be automatically sent to a private album in Picasa, and you can edit and share your pictures from there.
- Download and install the Google+ app for your phone.
- Open the Google+ app.
- Go to Settings.
- Scroll down, and check the box for "Instant Upload".
- Click on "Instant Upload settings" for further modifications.
Play with Google+ Photos
In Google+ Photos, you'll be able to see photos from a few different places. Photos from your circles shows you pictures that people within your circles have posted and shared. You can also see little talk bubbles that indicate the number of comments on a photo. Photos from your phone shows pictures that have been directly uploaded from your phone. No one can see these pictures unless you decide to share them. Photos of you displays pictures of you that have been tagged. Your albums shows all of your albums, including photos you've shared in your posts, your profile pictures, Instant Upload photos, and photo albums on Picasa.
If you already have albums on Picasa, there are a few changes to be aware of. Anyone can tag you in albums that have been shared, and if you tag someone, they can see the photo and the album. If you share an album, the recipients can see who the album has been shared with. They can also reshare any album you've shared with them.
One cool perk of being on Google+ is that you get unlimited photo and video uploads for videos shorter than 15 minutes.
When you enable Instant Upload, you'll get a notification when pictures are uploaded to your album. From there, you can share or delete pictures. Just click to select the ones you want. Selected pictures are outlined in red. To edit a picture, just double-click on the one you want to work on.
Here, I'm using pictures I took with the phone on my camera to demonstrate how you can use Google+ Photos.

You will now see your photo in what is called the "Google+ lightbox". The editing features are available in the Actions menu on the bottom right of the photo.

You can check out your photo's details, rotate it, or edit it. If the pictures have been shared already, you may have comments, and you can either report or delete the comments you don't like.

When you select Edit Photo, a menu appears in the right column of different editing effects you can apply.

Let's go through a few of the effects. (If you don't like the results of any of the effects, you can always click on "Undo" to reverse the effect.)
- The Cross Processing effectrefers to the analog "procedure of deliberately processing photographic film in a chemical solution intended for a different type of film". It often creates a look that appears vintage or retro.
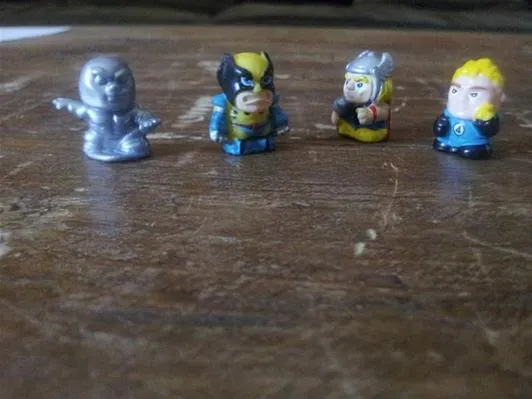
Before the cross-processing effect.
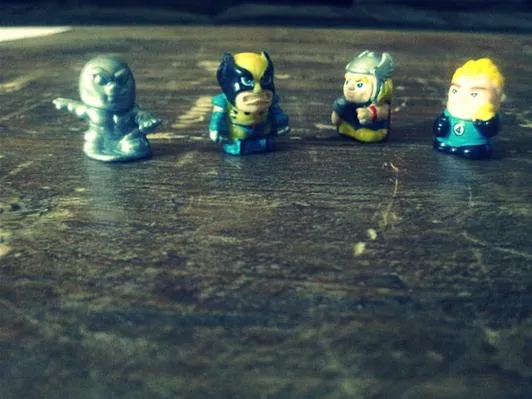
After the cross-processing effect.

Before the cross-processing effect.

After the cross-processing effect.
- The Orton effect blends two photos of the same scene.
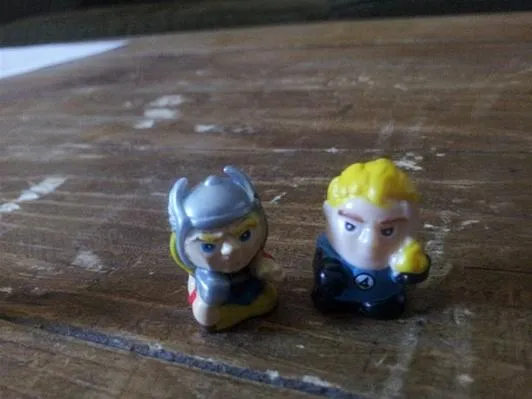
Before the Orton effect.
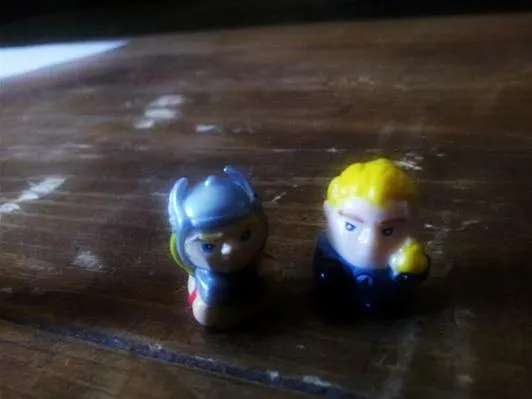
After the Orton effect.

Before the Orton effect.

After the Orton effect.
- The "I'm Feeling Lucky" effect appears to simply increase saturation/brighten.

Before "I'm Feeling Lucky" effect.

After the "I'm Feeling Lucky" effect.

Before "I'm Feeling Lucky" effect.

After the "I'm Feeling Lucky" effect.
- The Black and White effect converts color photos to grayscale.
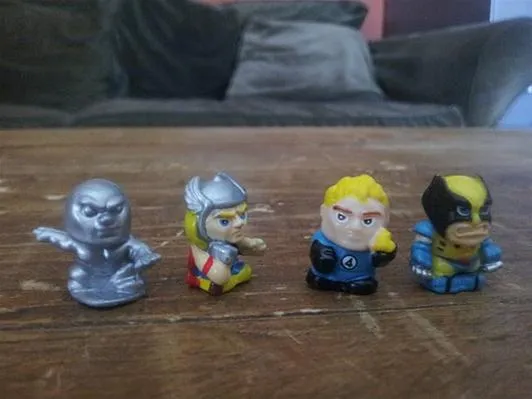
Before applying the black and white filter.
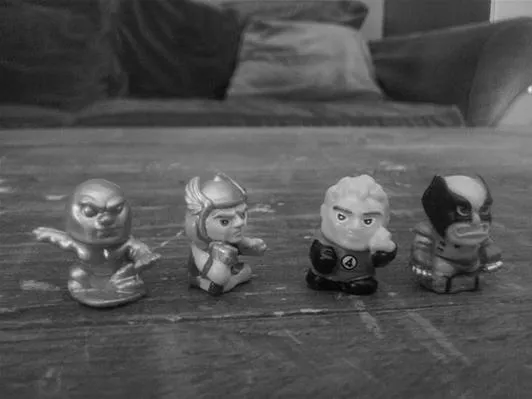
After applying the black and white filter.

Before applying the black and white filter.

After applying the black and white filter.
- The Auto Contrast effect enhances the contrast in your photo.
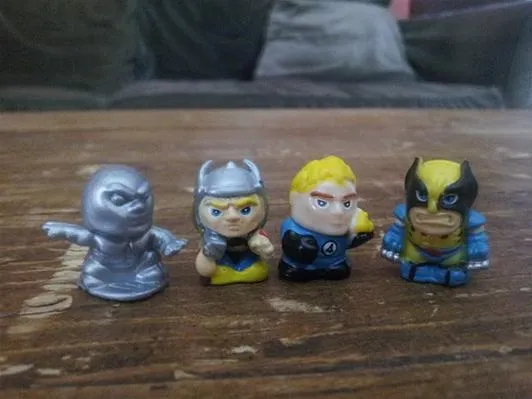
Before Auto Contrast.
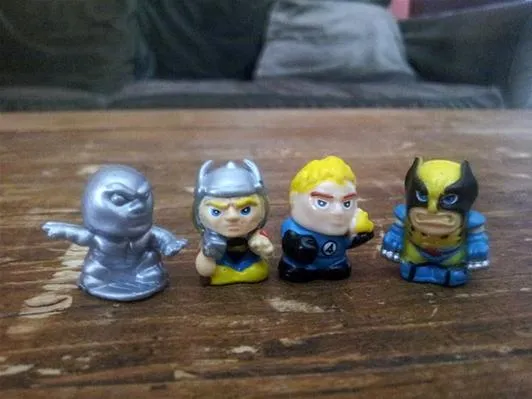
After Auto Contrast.

Before Auto Contrast.

After Auto Contrast.
Google+ Photos isn't a replacement for Photoshop, but it does offer something Facebook does not: a fun set of editing tools, similar to many smartphone photography apps. If you have an interesting photo/album posted on Google+ to share, please comment below.
Photo by Thomas Walker


Comments
No Comments Exist
Be the first, drop a comment!